EUROTAC
The Tactile Marking System
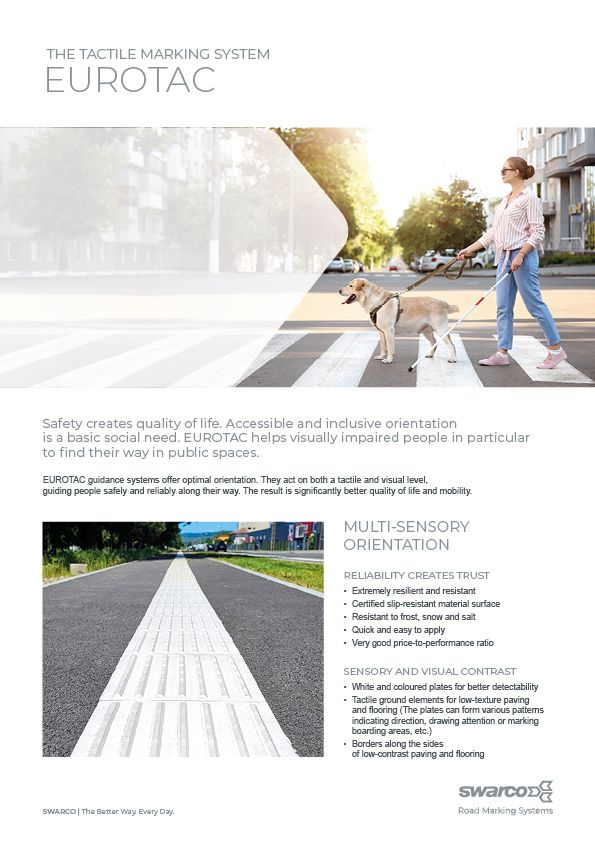
Safety creates quality of life. Accessible and inclusive orientation is a basic social need. EUROTAC helps visually impaired people in particular to find their way in public spaces.
EUROTAC guidance systems offer optimal orientation. They act on both a tactile and visual level, guiding people safely and reliably along their way. The result is significantly better quality of life and mobility.

"EUROTAC tactile guidance systems are an essential contribution to make public space barrier-free and better accessible for the handicapped, thus improving the quality of life and mobility of the blind and visually impaired."
Laurens Meurer, Sales, SWARCO Road Marking Systems
Inclusive Navigation
Reliability Creates Trust
- Resilient and resistant
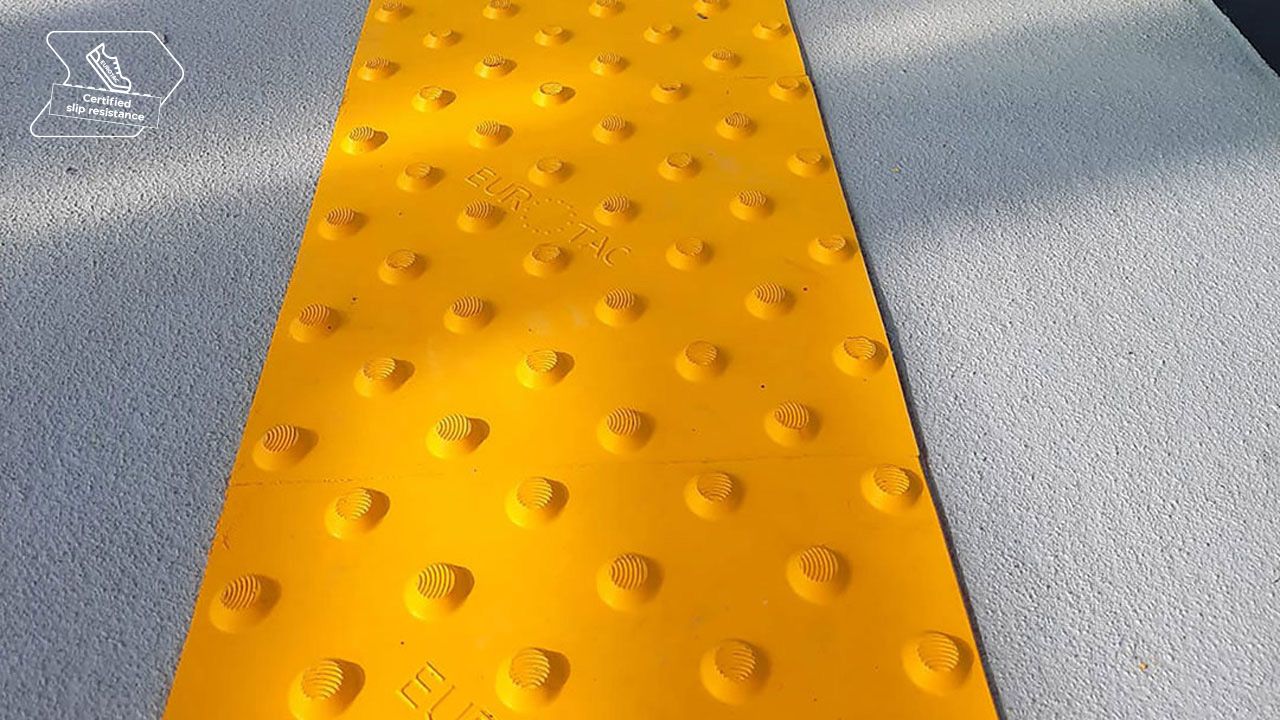
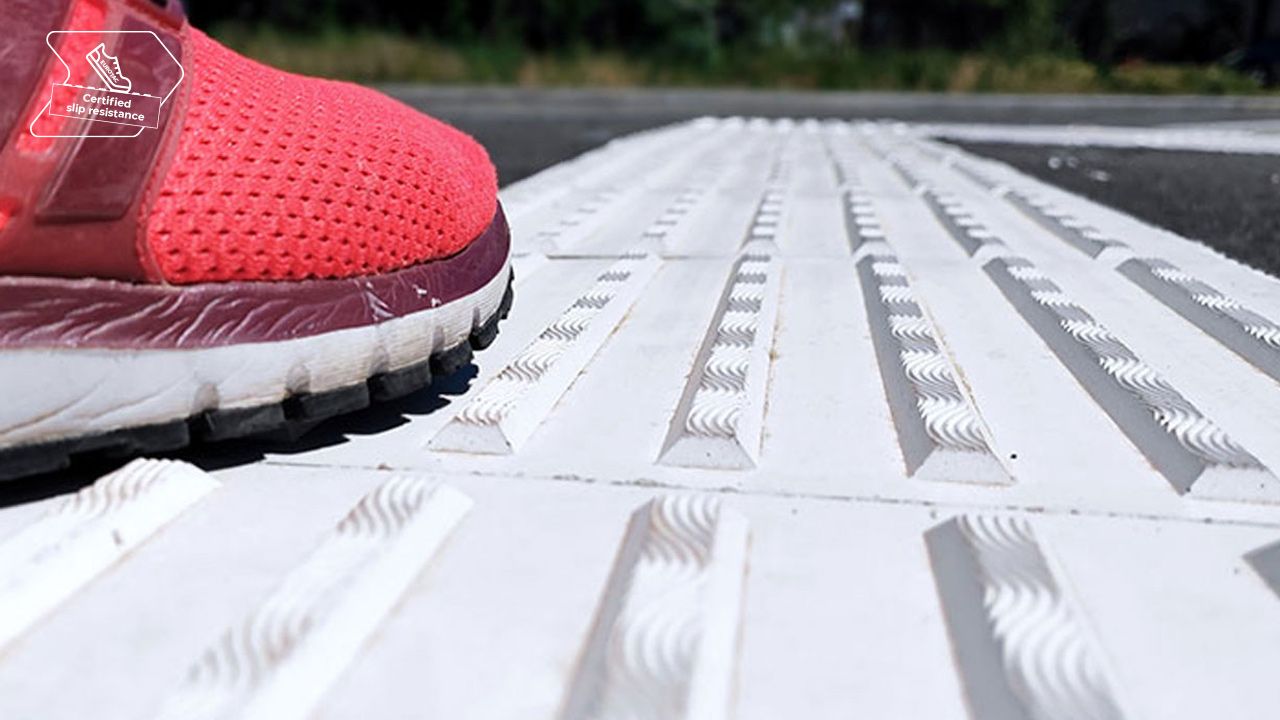
- Certified slip-resistant material surface
- Resistant to frost, snow and salt
- Quick and easy to apply
- Very good price-to-performance ratio
Sensory and Visual Contrast
- White and coloured plates for better detectability
- Tactile ground elements for low-texture paving and flooring (The plates can form various patterns indicating direction, drawing attention or marking boarding areas, etc.)
- Borders along the sides of low-contrast paving and flooring
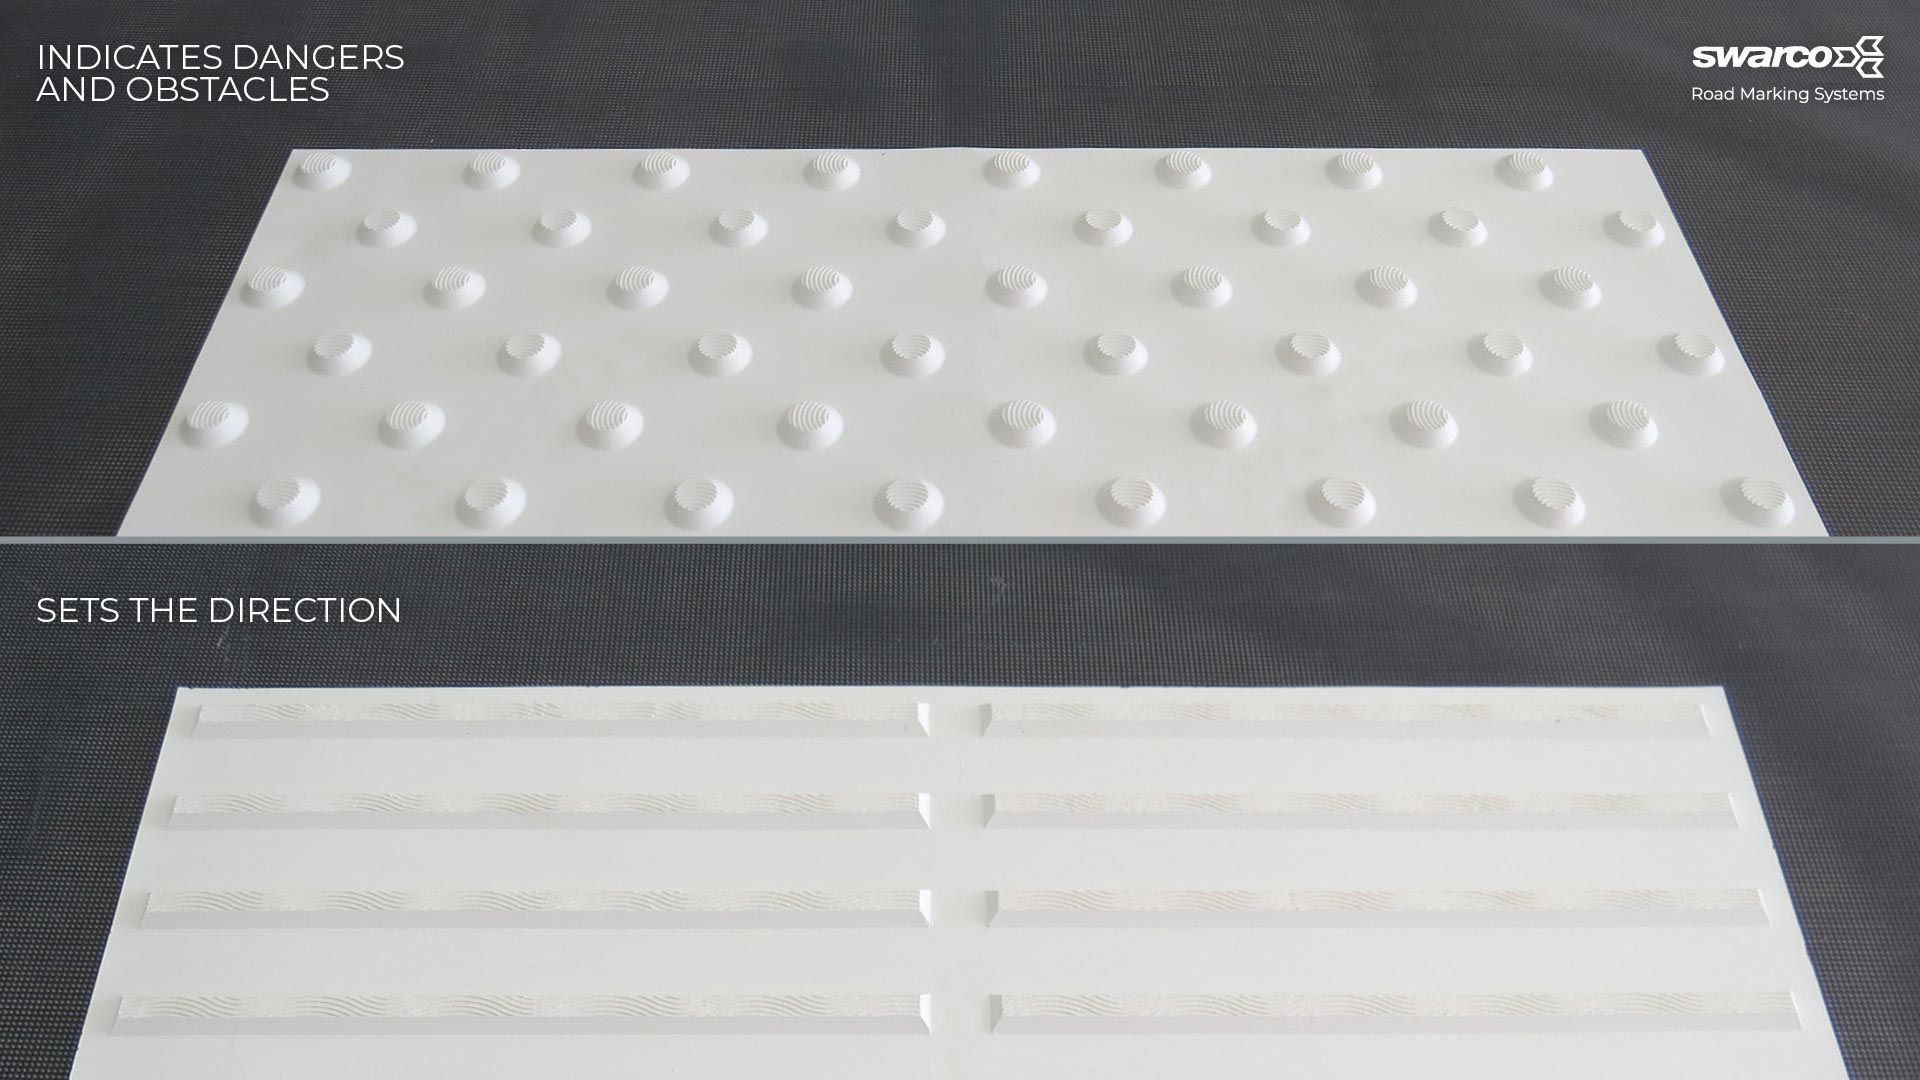
Rib Structure Applications
- Guiding strip – guiding in longitudinal direction
- Directional field – indication of walking direction at crossing points
- Boarding field – marking the boarding point in public transport vehicles
- Barrier field – warning of a zero drop
- Locating strips for lateral crossing points and general destinations (e.g. bus boarding, access,
stairs)
Dome Structure Applications
- Junction field – Branches and directional turns
- Attention field – indication of dangers and obstacles
- Finding strips for lateral crossing points and general destinations (e.g. bus boarding, access,
stairs)
EUROTAC Application Video
EUROTAC Instructions - Step-by-Step
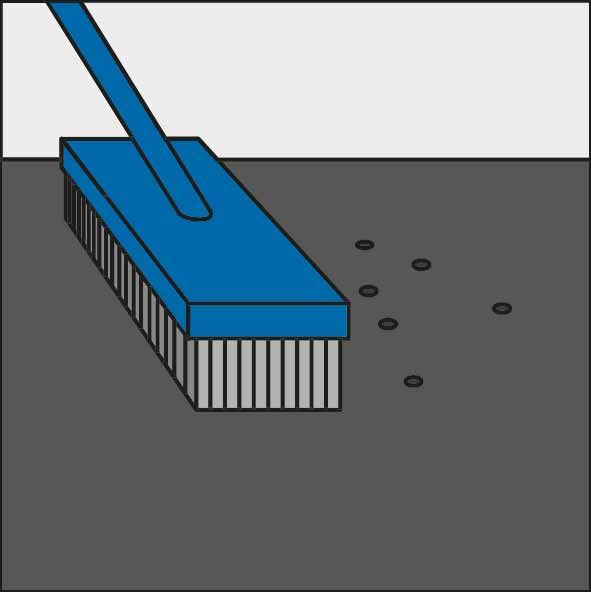
1. Cleaning the Surface
The surface must be dry,
clean and free of grease and oil.
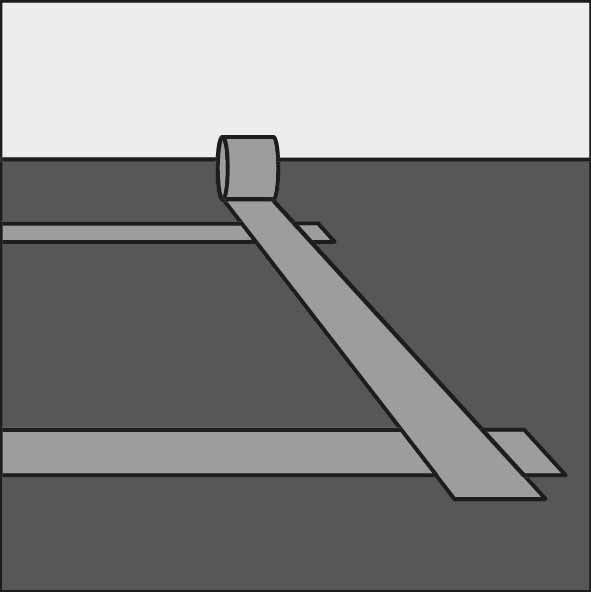
2. Pre-Marking and Taping
Mark the outline with tape.
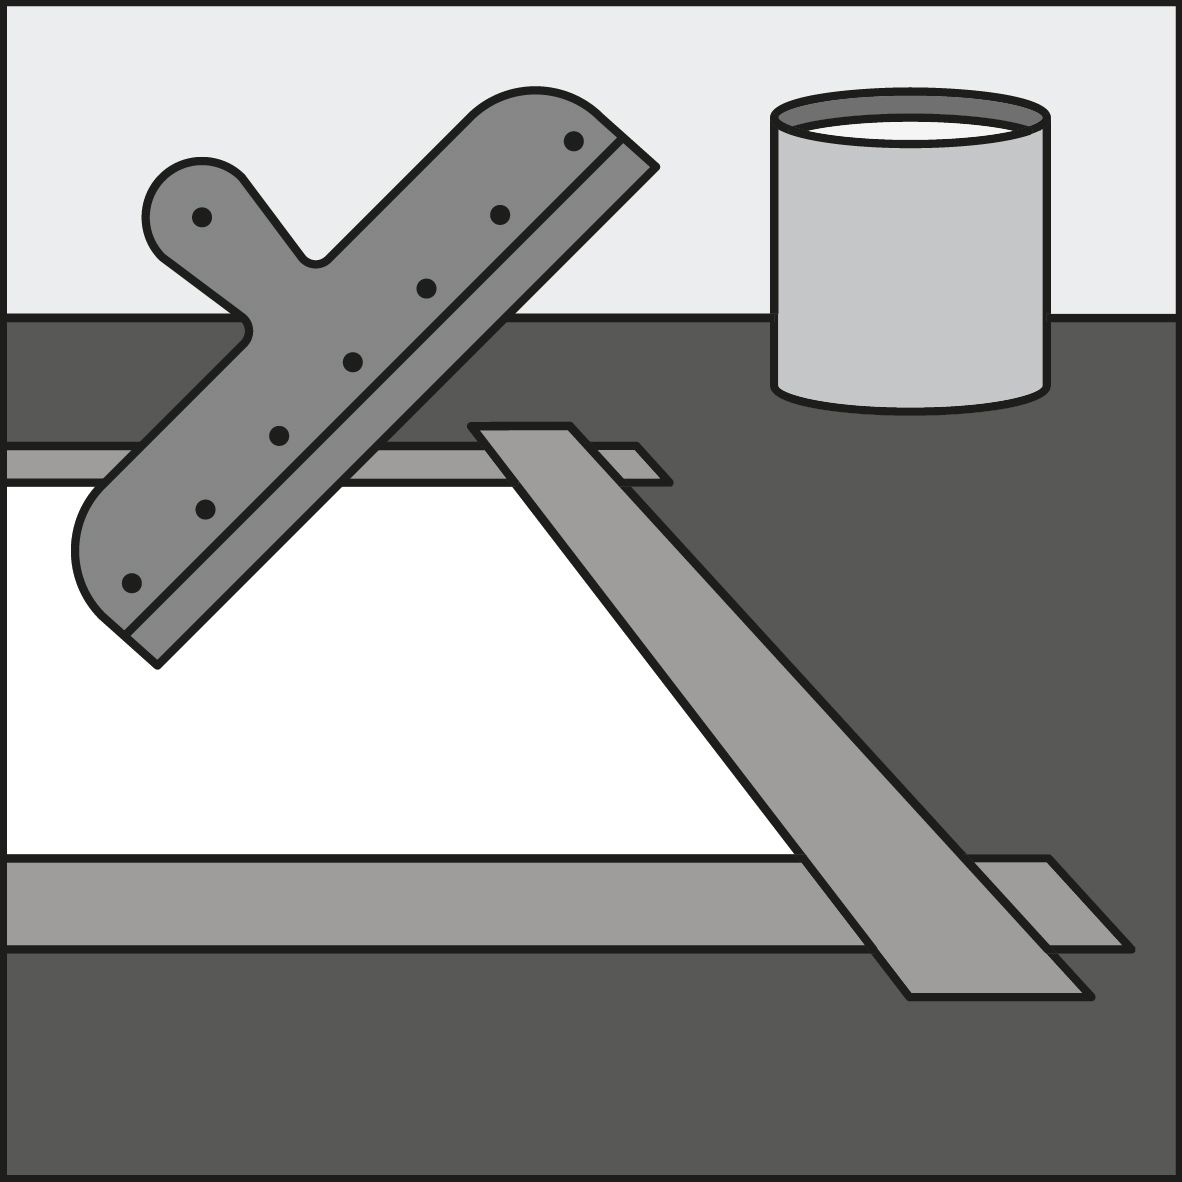
3. Applying Special Adhesive
Apply the special adhesive
in an even layer.
4. Laying the Plates
Lay the plates on the fresh layer
of special adhesive and
gently press them into position.
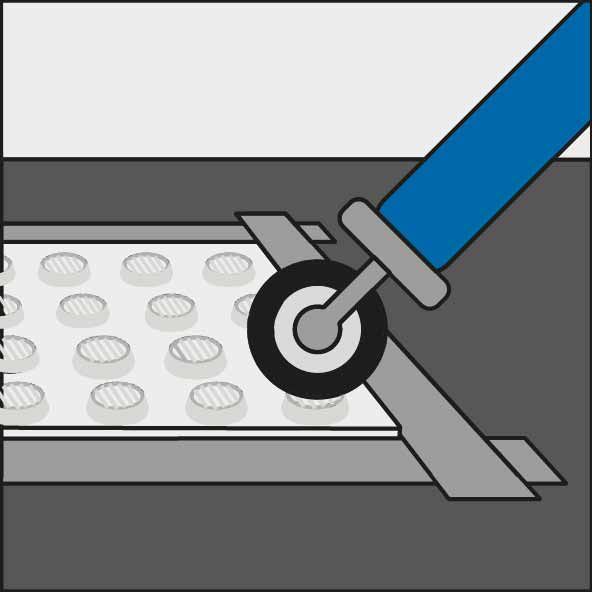
TIP
We recommend using a pressure roller to achieve
a perfect bond with no bubbles between the plates
and the surface (special adhesive).
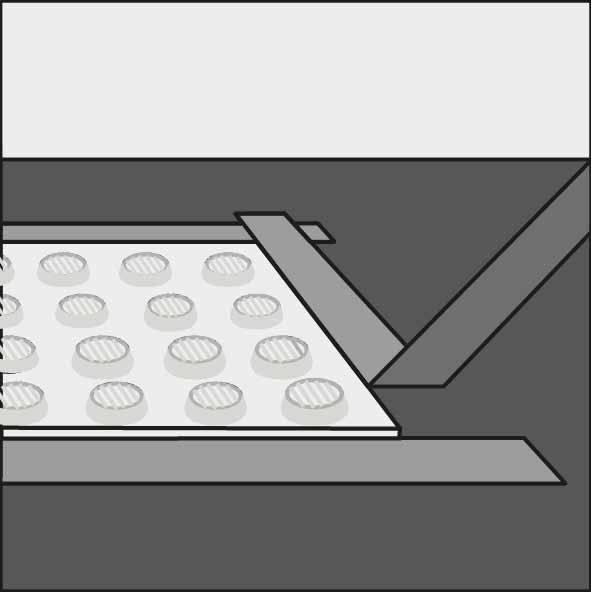
TIP
Remove the tape before
the special adhesive is cured.